Claude Projects: How to set up a Project before you start working

A Claude Project is one ongoing conversation with a coordinator agent. You send it work, it splits that work into threads, and each thread runs as its own session in parallel. The coordinator writes the brief for each thread and keeps track of what comes back.
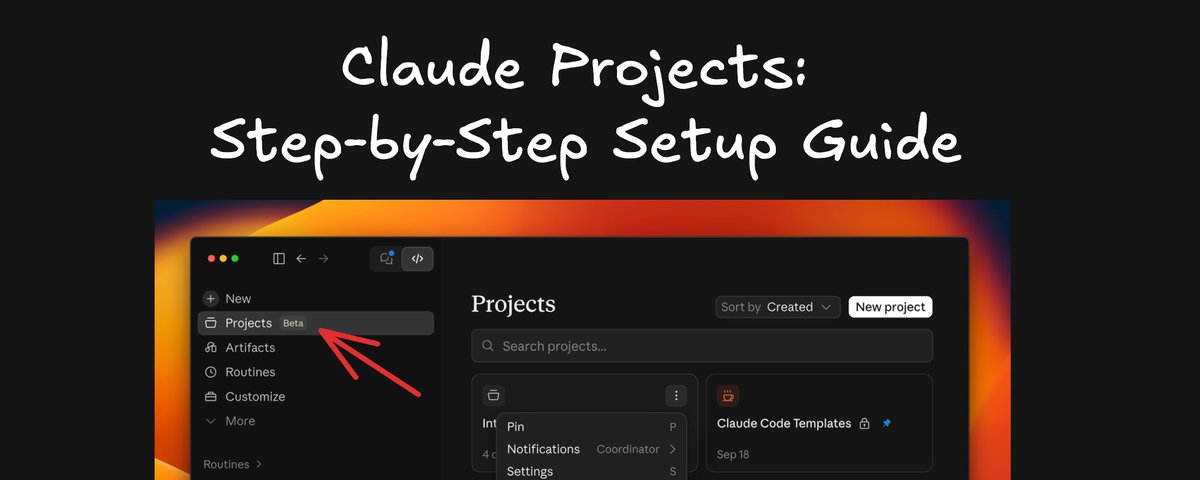
This guide covers the settings I recommend reviewing before you send real work to a project. Once the context, environment, and connectors are right, the threads can work without stopping to ask you for things they should already have.
Once you have access, you'll see Projects in the left sidebar.
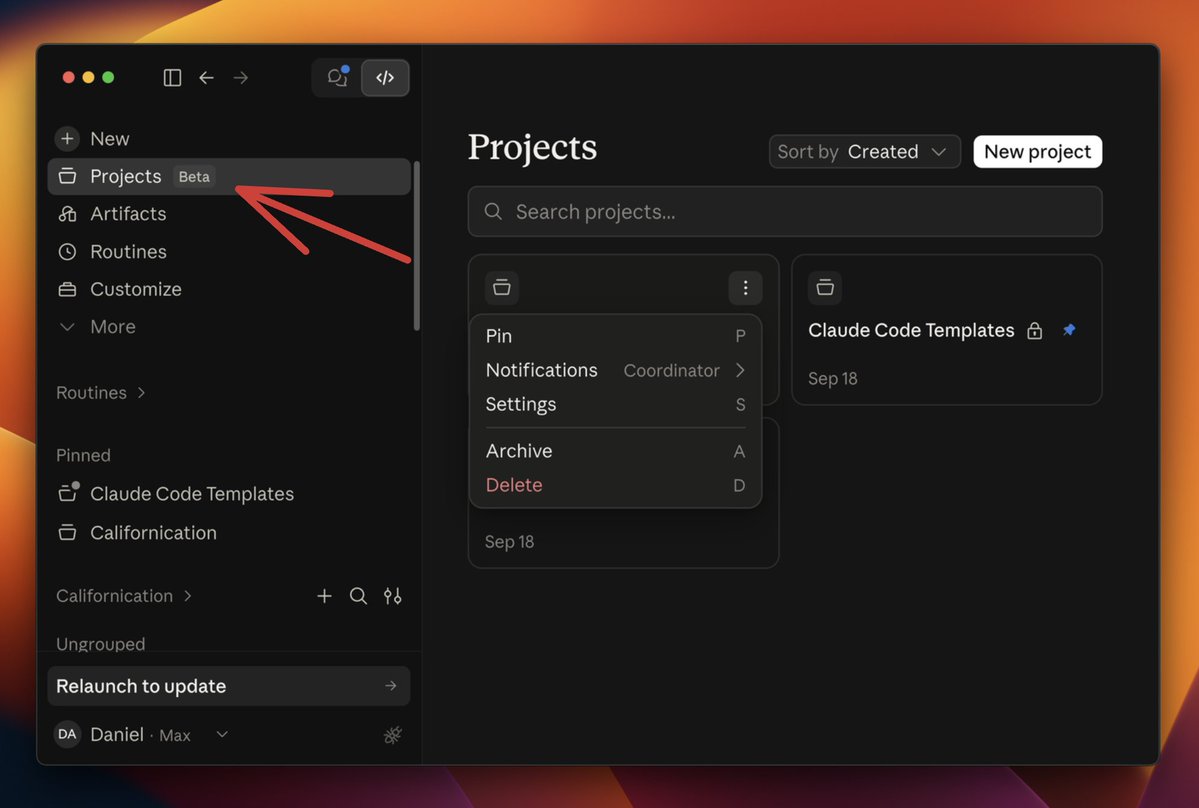
Creating a project
Click New project and give the project a name and a goal
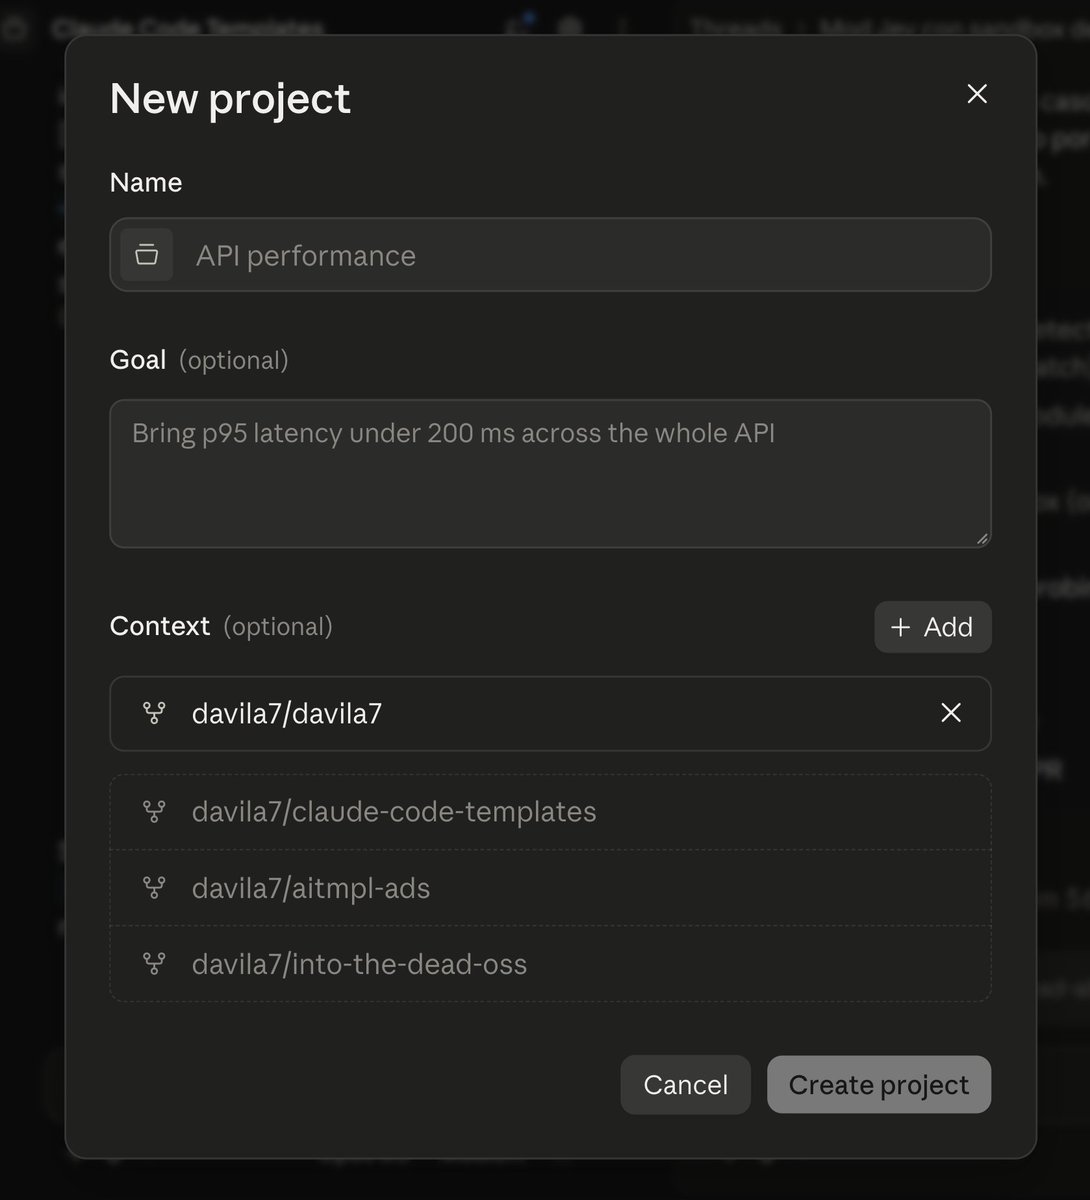
The most important part is Context. It can be GitHub repositories, files, folders, or even Google Drive folders.
Add everything Claude should take into account, both for the current state of the project and for where it's going. Claude decides which sources to open based on the task.
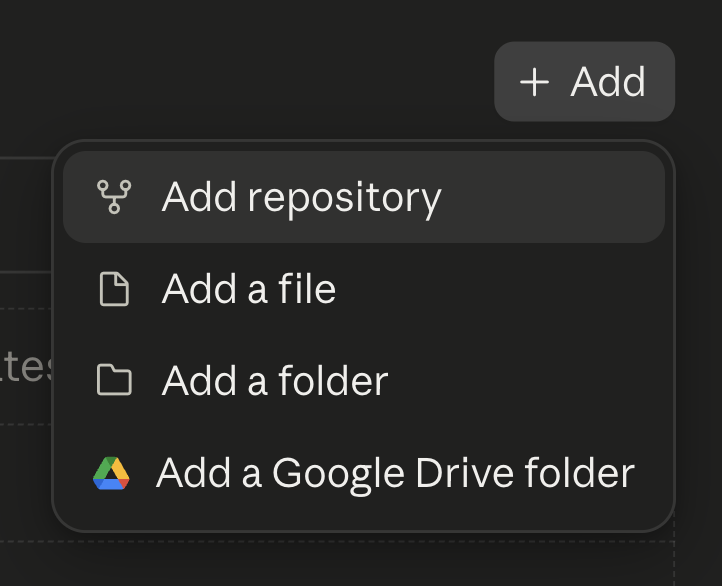
Curate what you add. Don't upload folders with hundreds of spreadsheets, PDFs, or markdown files. Give Claude a clean, well-formatted context so it can trust that everything in it is relevant to the work.
For repositories, add the one or two that almost every task touches. Name the rest in the project instructions (more on that below). A thread can clone another repository mid-task when it needs one, so you don't have to add everything upfront.
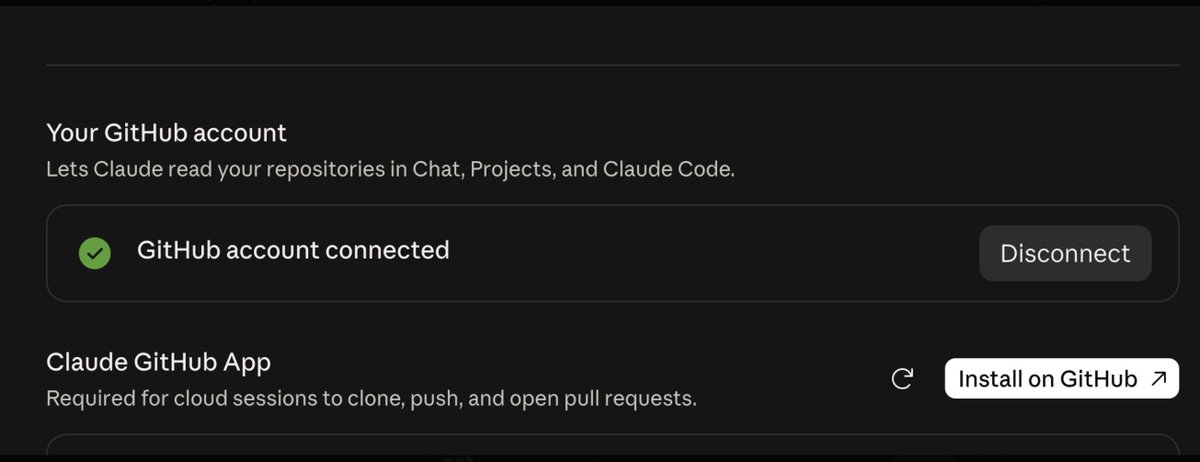
If GitHub fails to connect
If you get an error when attaching repositories (it happened to me), reconnect your GitHub account. Project threads need the Claude GitHub App installed on each repository, plus new permissions that your older connection may not have.
Reconnect here: https://claude.ai/customize/connectors/integration-github
The initial setup
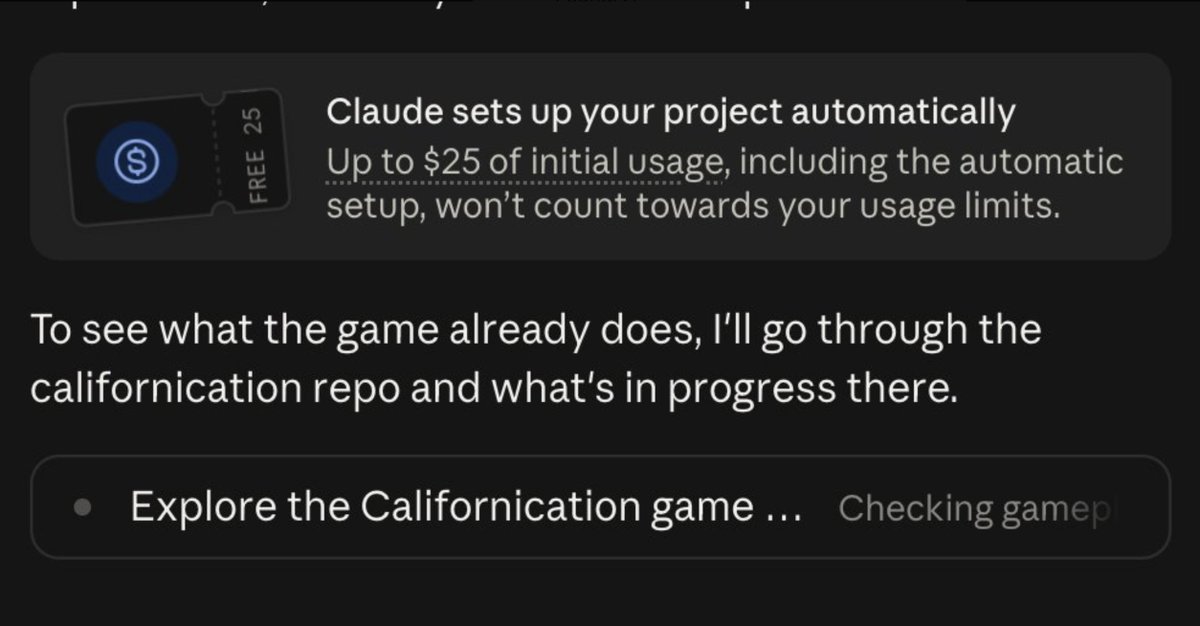
The first time you create a project, Claude starts working on its own and runs an initial setup. This can take a few minutes. It may explore your repository without changing anything and post setup recommendations: repositories to add, routines to create, and threads it could start.
At the time of writing, the first 25 USD of tokens used in this initial setup are covered by @AnthropicAI:
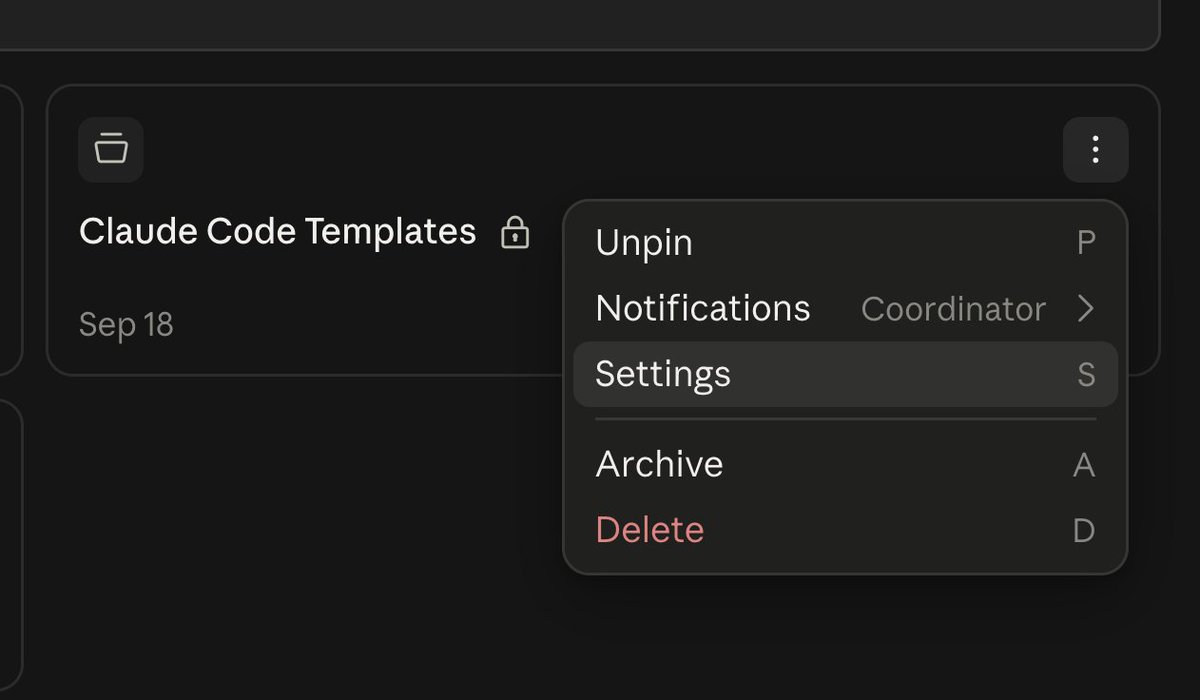
Project settings
Once the project exists, review the configuration to confirm everything is right. Start with Settings:
General
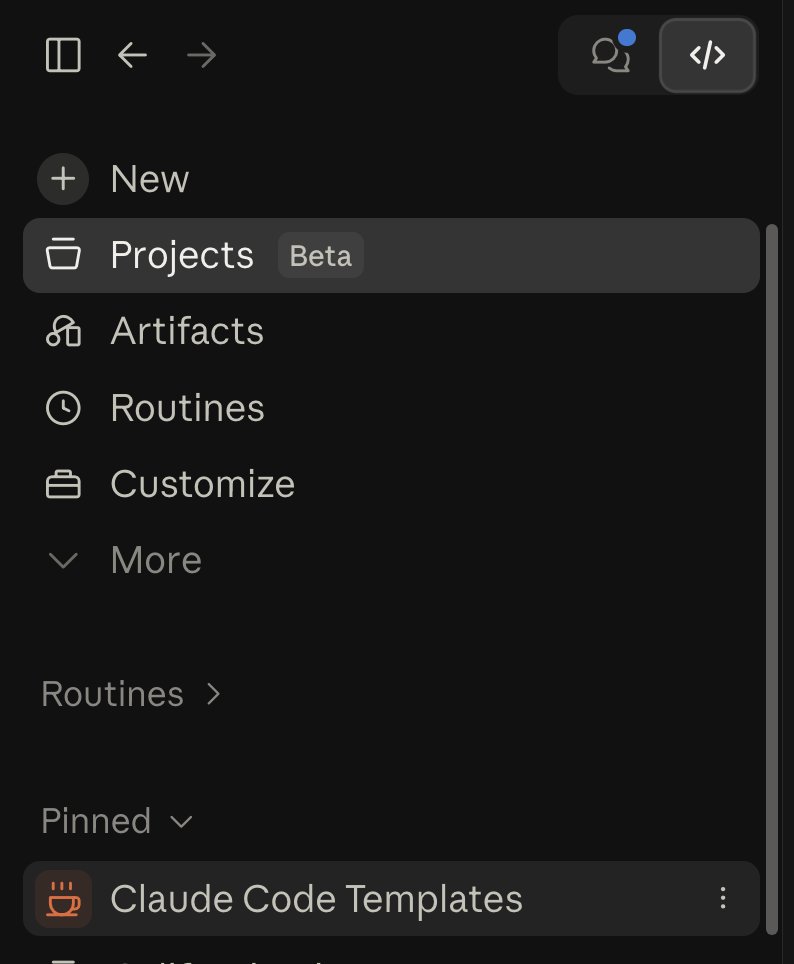
Go to General and start with the important part: a color and an icon for your project.

This is the icon you'll see in the Claude Desktop sidebar:
Next, write the Goal. The UI allows up to 8,000 characters, so I used the space to give Claude a full picture of the project. I split it into these sections:
Models
In the models section, pick the Coordinator model (Claude in the project conversation) and the Thread model (the agents doing the work), each with its own effort level.
By default, a new project runs Opus everywhere, with high effort for threads and low effort for the coordinator. High effort on every thread is what burns through your plan fastest. I run Opus 5.5 for both, with Medium effort on each.
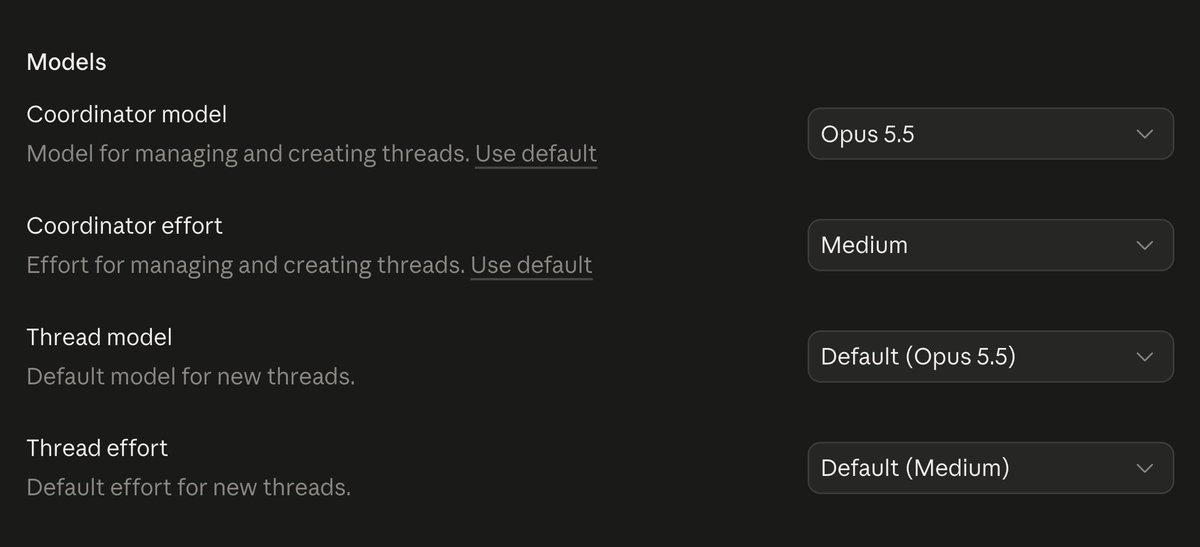
Adjust these to the complexity of your project, and keep in mind that some models cost more per token than others.
For simpler projects, a good combination is Opus 5.5 as coordinator and Sonnet 5 as the thread model.
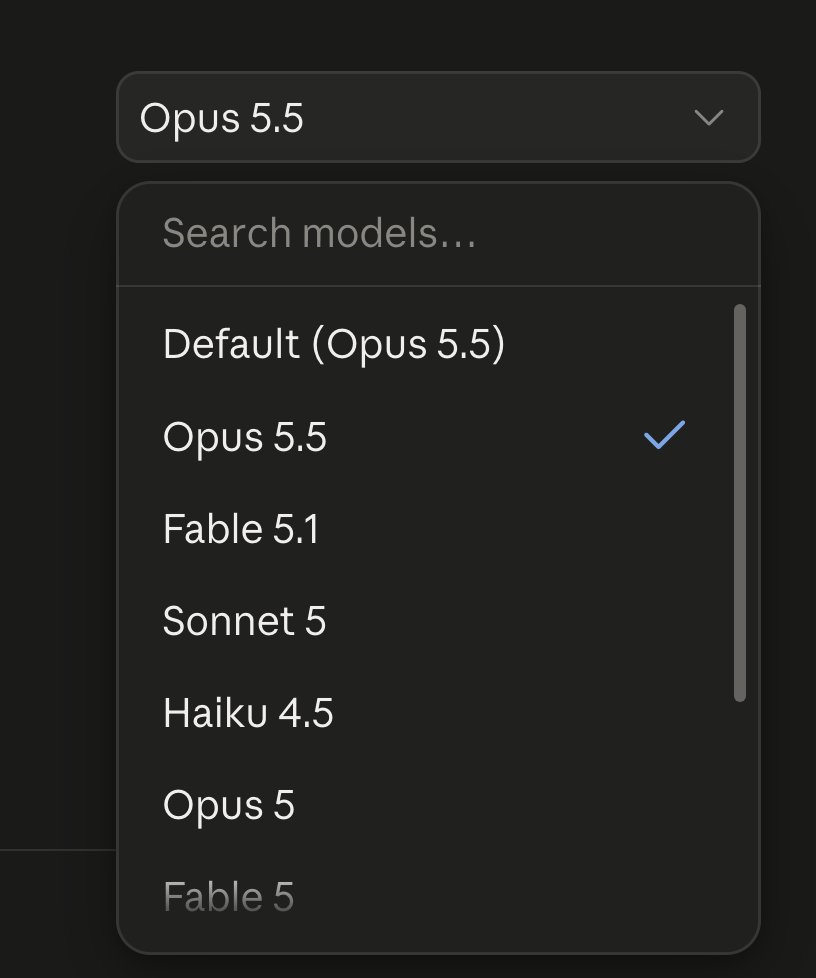
Revisit these settings regularly until you find the right balance of coordinator model, thread model, and effort. You can also ask for a different model on a single task directly in the conversation.
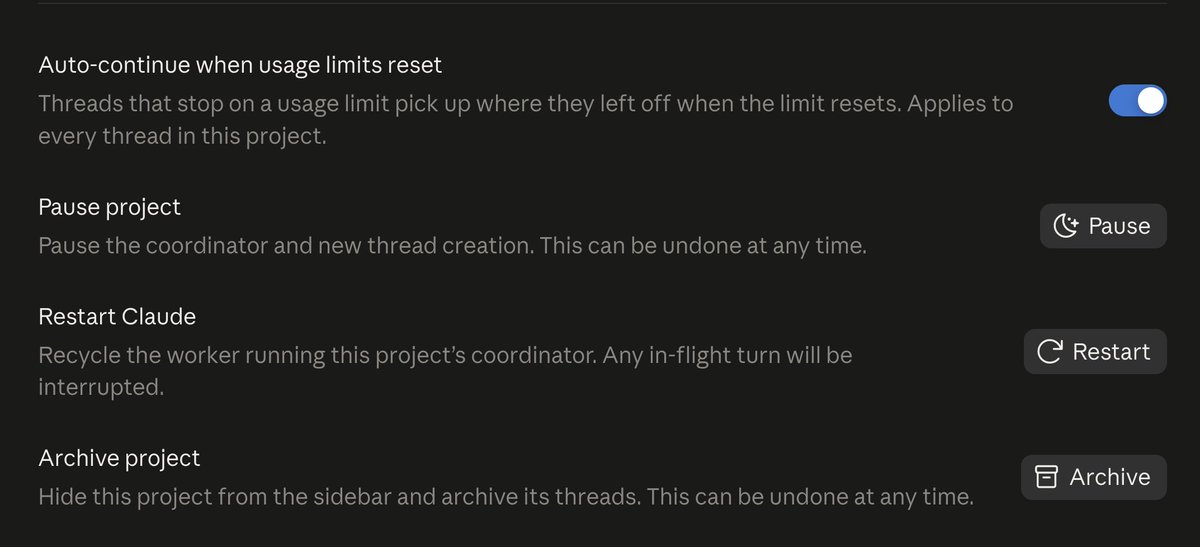
Turn on Auto-continue when usage limits reset, if it's off, and leave the other three options alone for now.
Memory
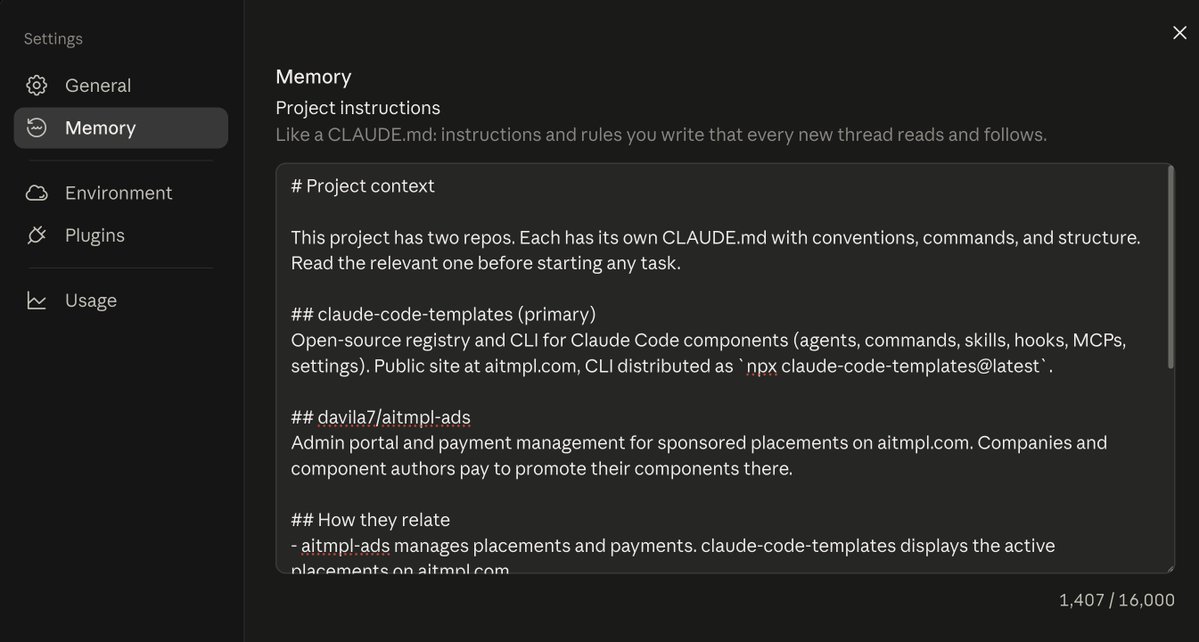
Go to Memory and set up the Project instructions. Think of this as the project's CLAUDE.md: every new thread and the coordinator receive it, so each agent starts with some context. The limit is 16,000 characters.
Most repositories already have their own CLAUDE.md, and every thread reads it when it clones the repo. Don't repeat those instructions here.
Use this space to tell Claude which projects are frontend and which are backend, which one is the main project, which folders or Drive folders go with each repository, and so on. Give Claude a short overview so it knows the basics and where things live when it starts a thread.
You can use these sections:
Auto Memory
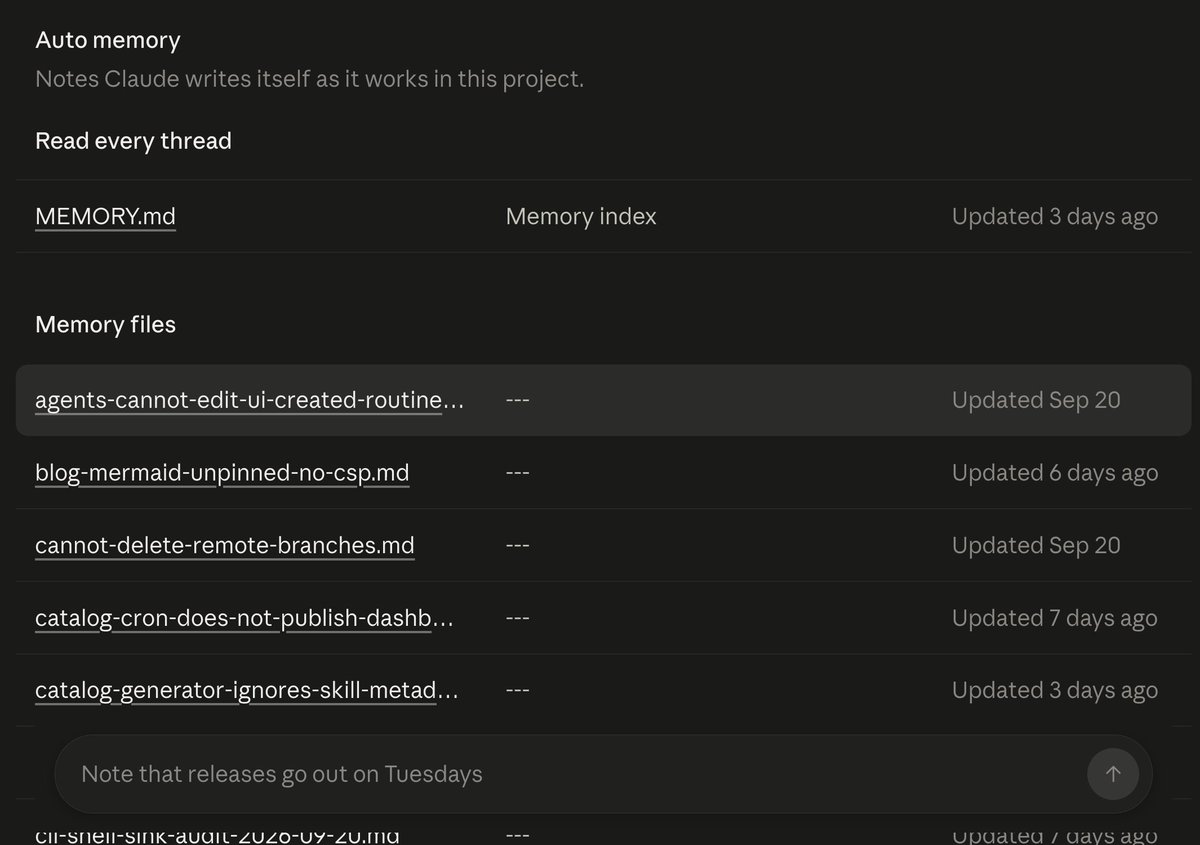
Auto memory is the set of files Claude writes on its own as it works in the project, indexed by a MEMORY.md that every cloud thread reads at startup. Look through them from time to time and clean them up. Projects change, and some memory files end up describing a past state that adds noise to Claude's reasoning.
Click any file to read and review it. You can even start a thread to do the cleanup for you.
Environment
Next, go to Environment. This is where Claude runs the project's cloud sessions. You'll see the repositories you added at the start. Each new thread clones them fresh, so it always works from the latest version, starting a new branch from each repository's default branch.
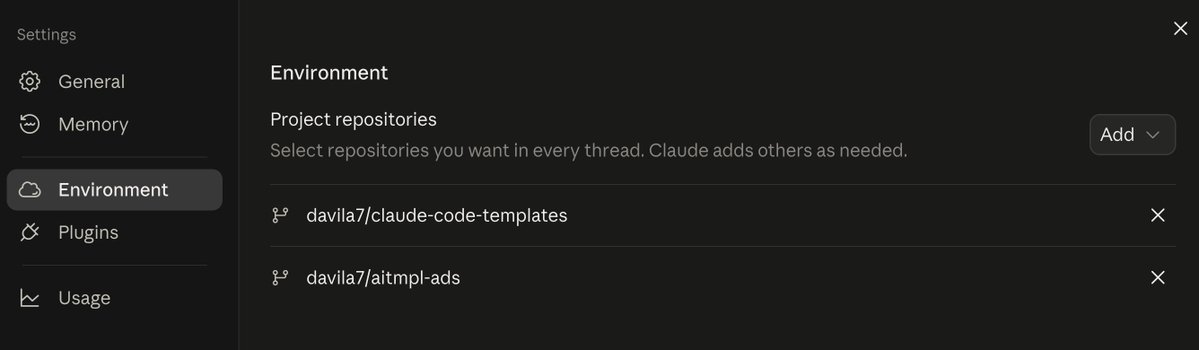
Here you choose which cloud environment every thread runs in. Environments aren't specific to Projects: the same ones apply to your other Claude Code cloud sessions, routines, and Claude Tag.

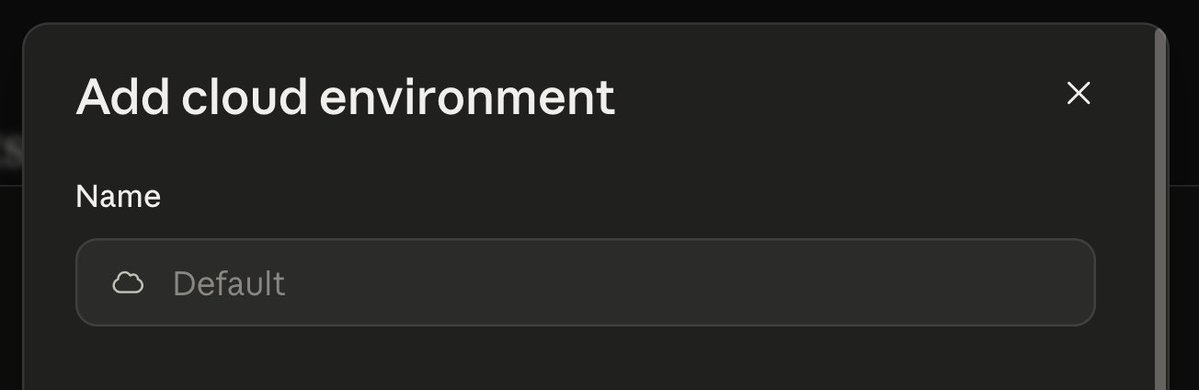
You probably have the default environment selected. Click the settings gear to check what's in it, and give it a name that identifies it as the environment for your Claude Projects threads.
Network
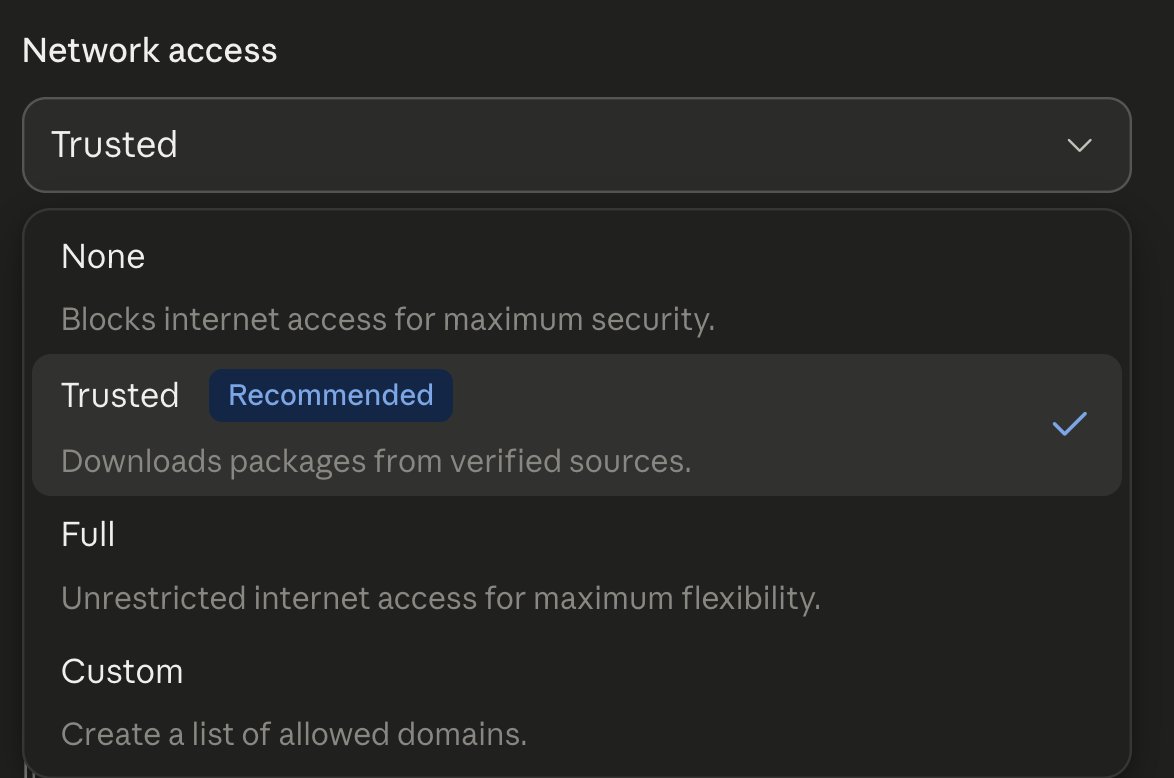
Under Network access, I recommend Trusted, the default. Sessions can reach package registries, GitHub, cloud SDKs, and the rest of Anthropic's allowlisted domains, and nothing else. If a thread needs an internal API or another domain, use Custom and add it to the list instead of opening up full access.
Environment variables vs. API credentials
There are two ways to give threads access to external services. The difference matters.
Environment variables are plain values loaded into every session in the environment. Claude, and the commands it runs, can read them, and so can anyone who uses the environment. Use them for configuration: regions, project IDs, feature flags, service URLs.
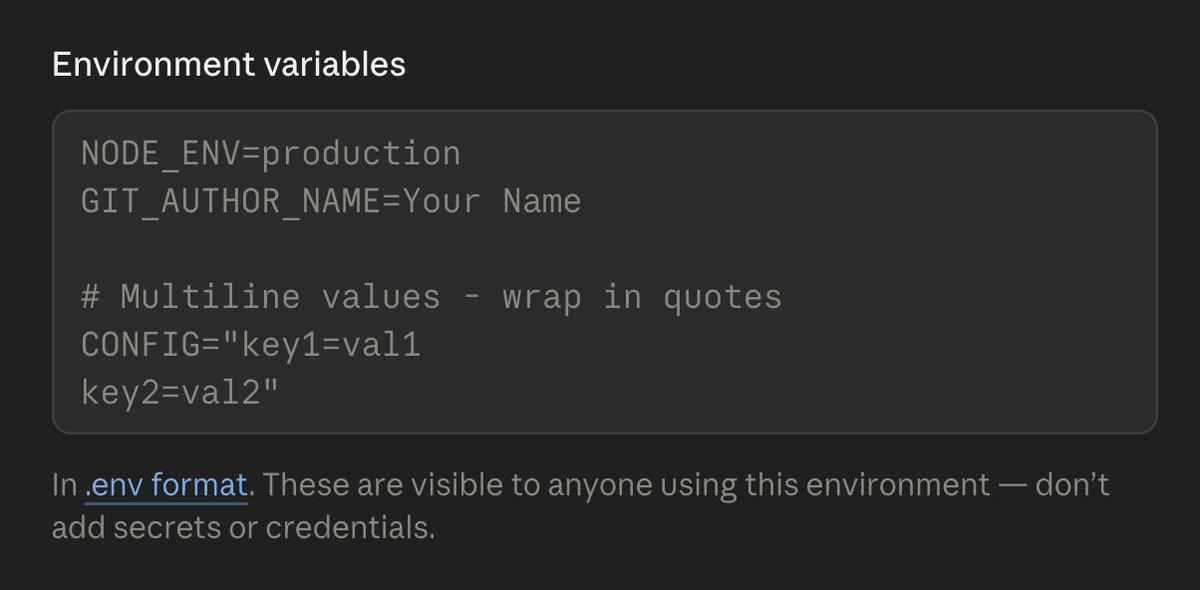
API credentials are for secrets. You store the key on the environment and list the hosts it applies to. Anthropic's agent proxy attaches the key to requests for those hosts after they leave the session, so the key never reaches Claude, the commands it runs, or the session's environment variables. API credentials are available on Pro and Max plans.

In my case, I load keys for Google Vertex AI, Higgsfield, Anthropic's Claude Managed Agents, OpenAI, and others. The goal is that Claude has everything it needs from the environment, and you never have to paste a key into the chat.
Setup script
If you need something to run when the environment starts, add a setup script. Use it to install packages, start an internal service, or whatever gets the environment ready, so Claude can start working right away instead of spending tokens doing it itself.
The setup script runs the first time a session starts in the environment. If it finishes in under five minutes, the resulting filesystem is cached and reused by later sessions for about a week. The cache keeps files, not running processes, so anything like a database has to be started per session.
Save the environment, then move on to connectors.
Connectors
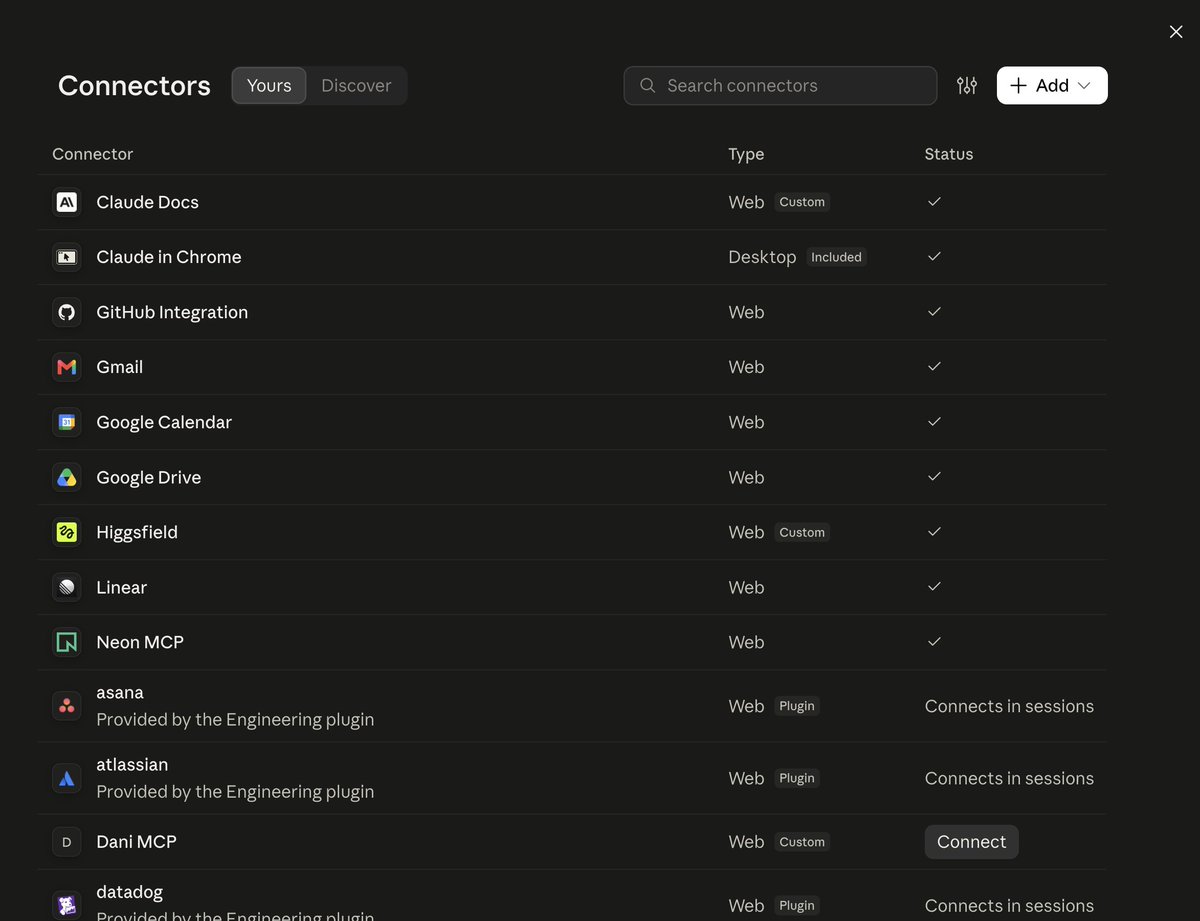
These are the MCP servers Claude can use in every thread of the project. They come from your claude.ai account, so there's no per-project setup: you connect them once at claude.ai/customize/connectors.
Review them and make sure everything is fully connected before you start. Every time Claude tries to call an MCP that isn't connected, you lose tokens and add noise to the session. Do it now and Claude will move fast.
One detail: the coordinator conversation itself has no connectors. Only threads use them. So if a task needs, say, a Linear ticket, the coordinator hands it to a thread that reads it.
Worktrees
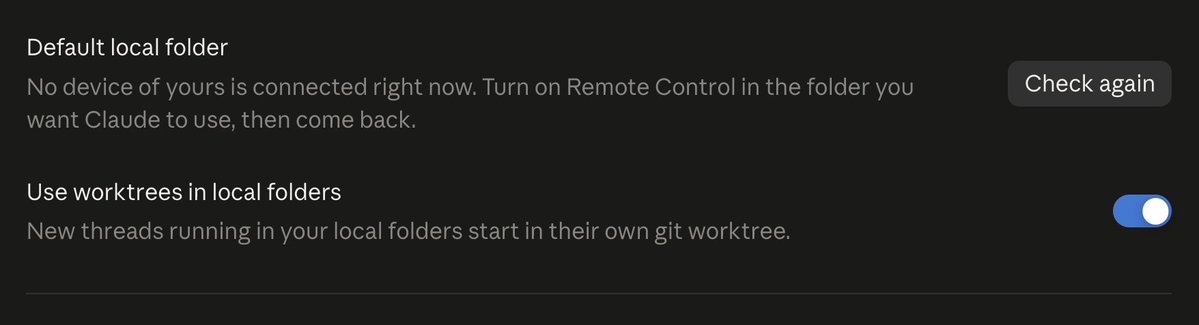
Using worktrees is optional. I prefer to use them because they keep everything organized, but that's up to you.
Plugins
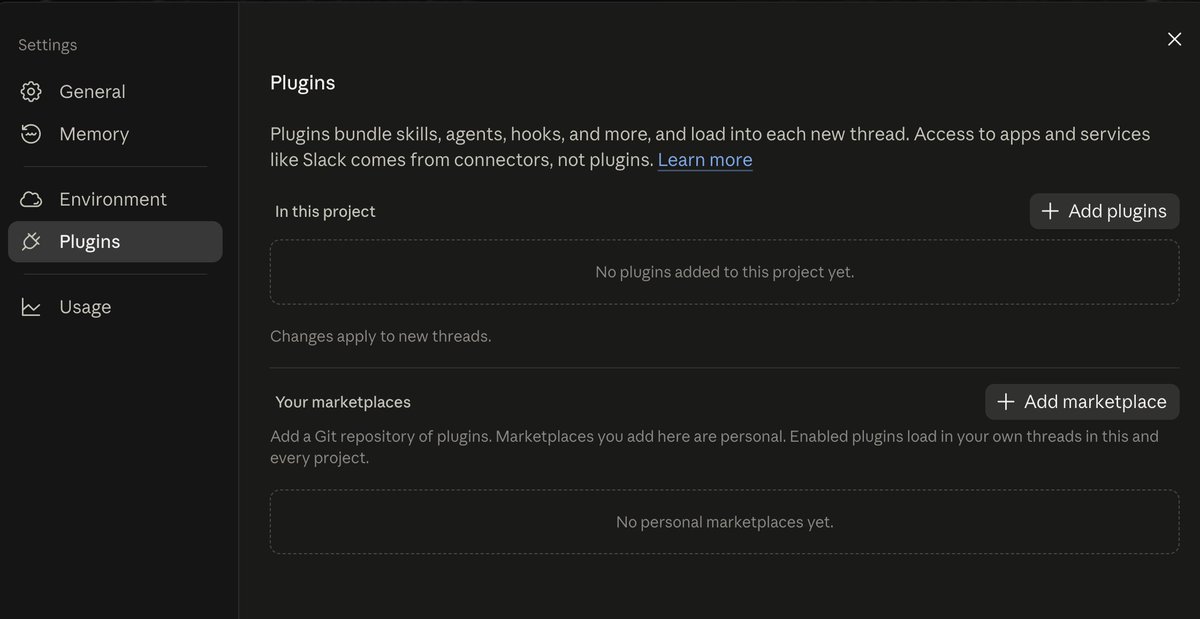
In Plugins you can add any plugin or marketplace. This is the only way to get plugins into cloud threads: plugins enabled in a repository's .claude/settings.json don't load there. I don't use many, since I keep everything in aitmpl.com, but any plugin your threads need has to be added here.
Usage
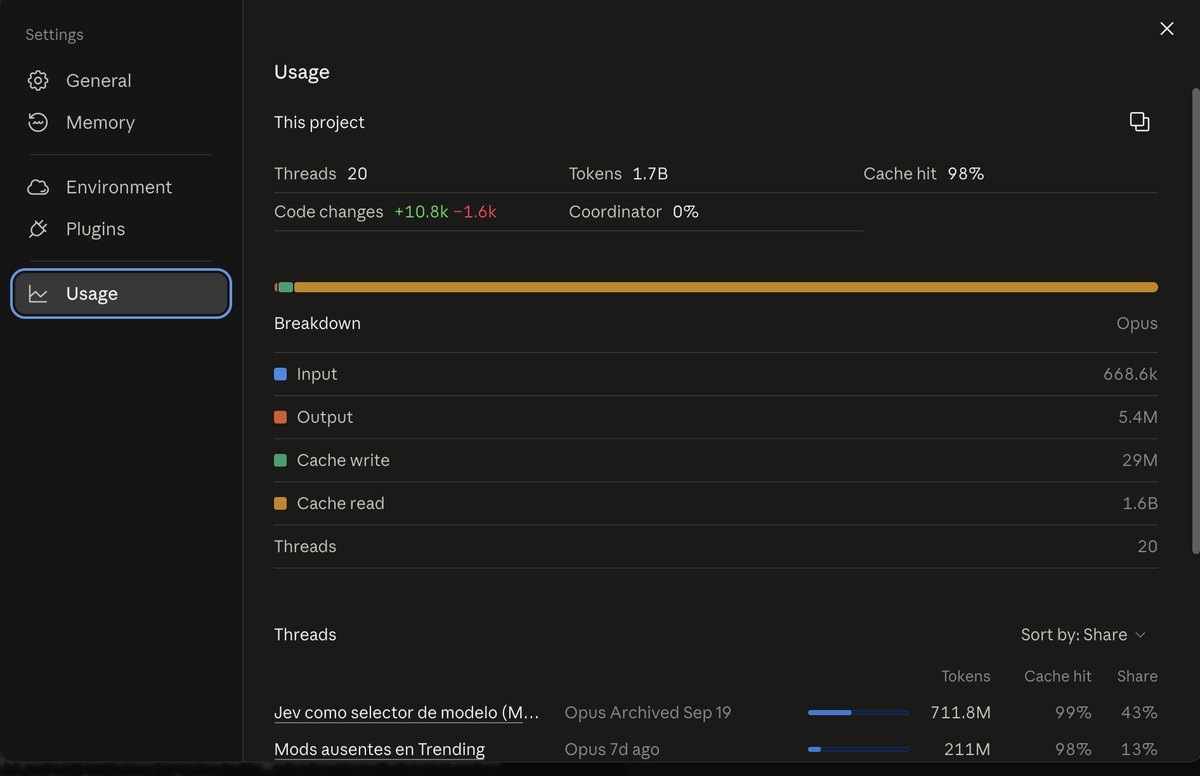
Finally, Usage shows how the project is using tokens: token use by thread and by model, how much went to the coordinator, how the cache is being used, and which sessions cost the most. Check it often to see where you can optimize.
Working in the project
Everything is ready. Open the project and start working with the coordinator and its threads.
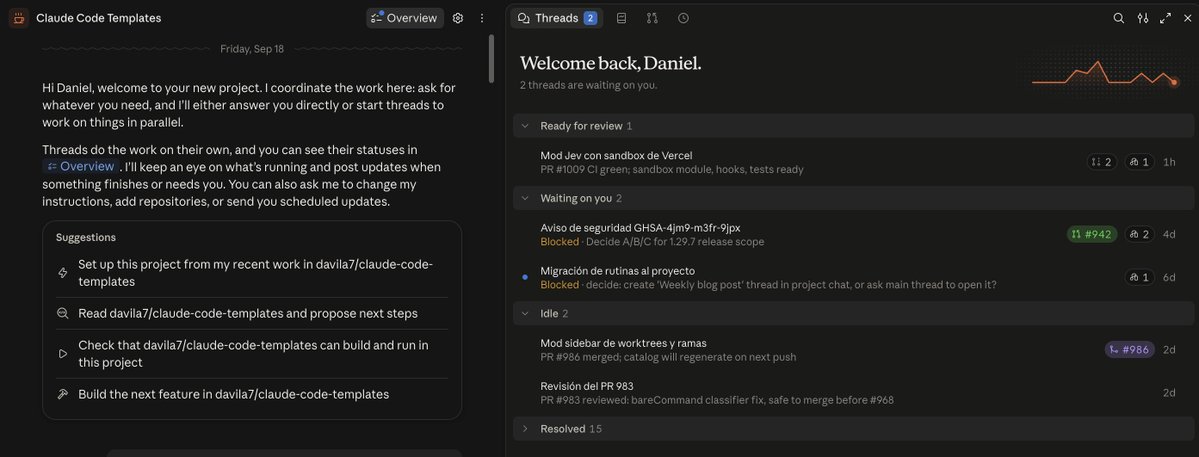
It's simple. You have one main conversation where you give Claude work. Ideally each task is a complete piece of work.
For example, you can give it a Linear ticket, tell it to work on it, and ask it to raise any questions it has. A simple prompt like that is a good start.
You've already configured everything, and the coordinator writes the instructions for each thread. Each task gets a well-scoped brief, and the agent that receives it has everything it needs to execute.
Thread states
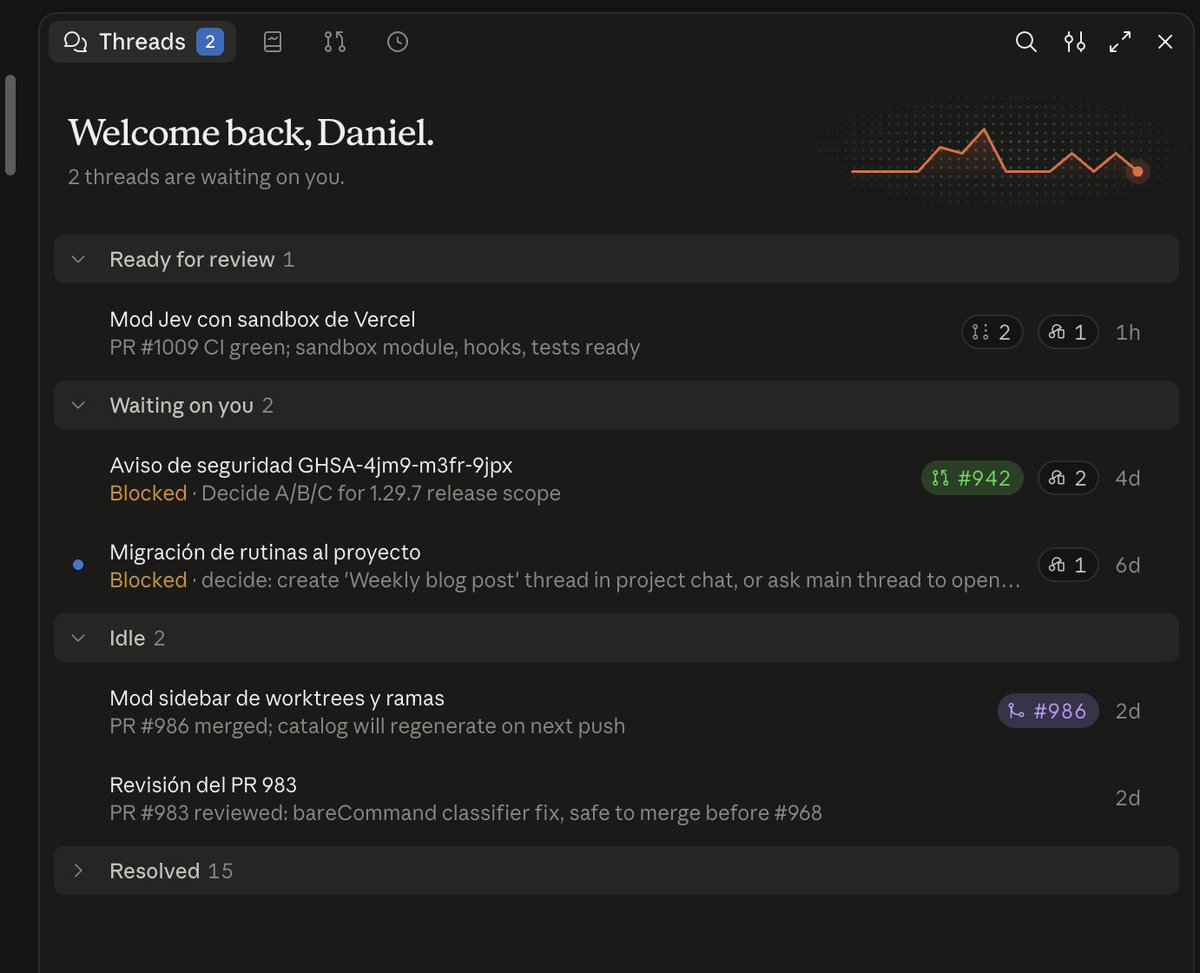
The Overview pane groups threads by state:
Pull requests
Each thread also has an associated pull request, and you can see whether it's open, in draft, merged, and so on.
A thread can have more than one PR, but I recommend always opening a new thread for each PR, even when it's part of the same task. A one-to-one link between PR and thread makes it much easier to find why certain decisions were made for each merged change.
Library and Routines
Besides Threads and Pull requests, the Overview pane has two more tabs.
Library holds the files and folders you added to the project plus every file the threads produce. When a task isn't code (a report, an analysis, a write-up), this is where the result lands.
Routines lists scheduled work for the project. Ask the coordinator to run something on a schedule, like a weekly dependency report, and it creates a routine that runs as threads inside the project.
Once everything is configured, Projects is easy to use. There is a limit of 200 new threads per day across all your projects, but I haven't come anywhere close to it.
Let me know if this guide worked for you, and follow me for more articles like this one. And if you made it this far, thanks for reading!
