Thread Truncated (Cap Enforced)
Only the first 20 tweets are unrolled into slides to ensure reliable PDF exporting and high server performance.
Canvas & Ratio
Choose your destination platform format
Layout Template
Choose a content structure for your slides
Preset Themes
Typography & Sizing
Brand Kit Customization
AGENCYConfigure brand assets for headers & footers
Outro Slide CTA
Customize your closing call-to-action slide
Background Pattern
Build Your Carousel
Drag and drop any post card below onto a slide, or use the quick buttons to insert content/images instantly!

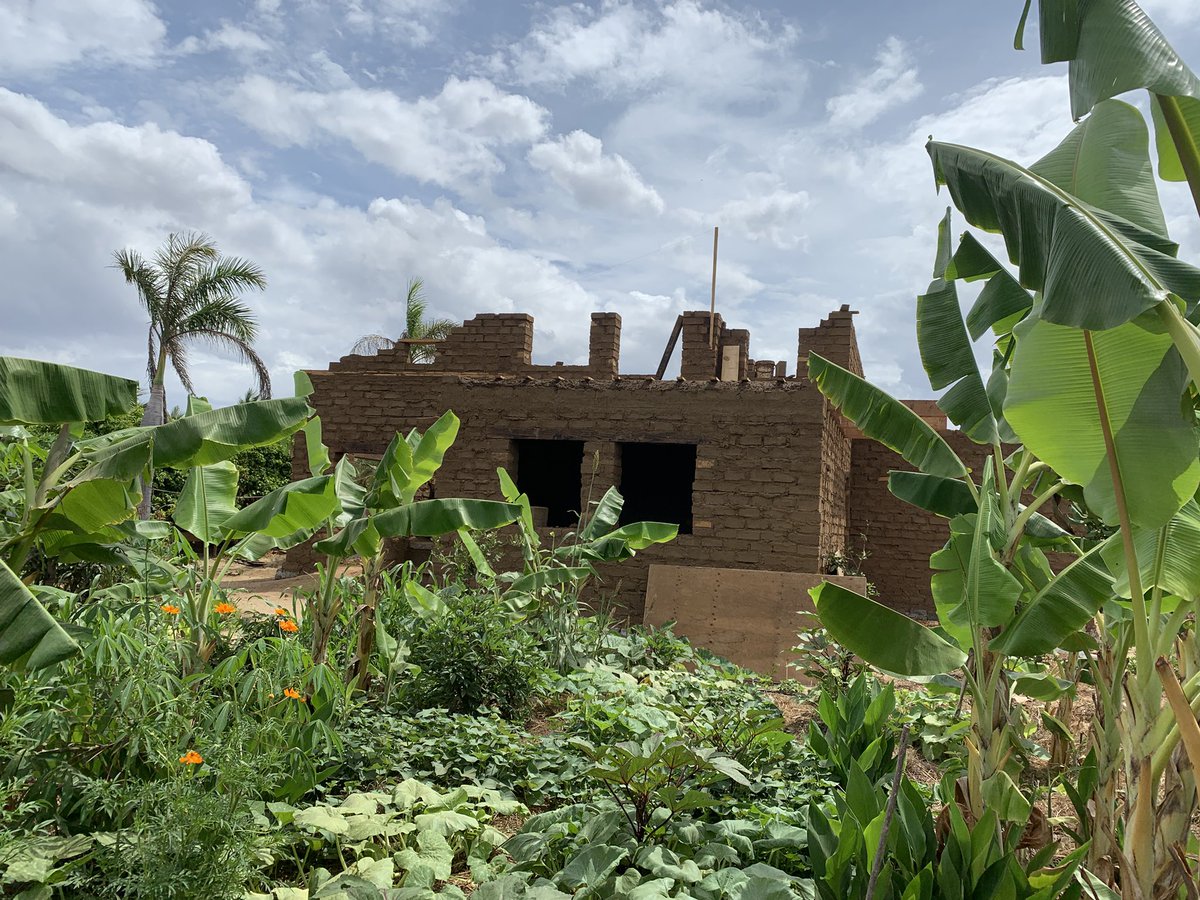
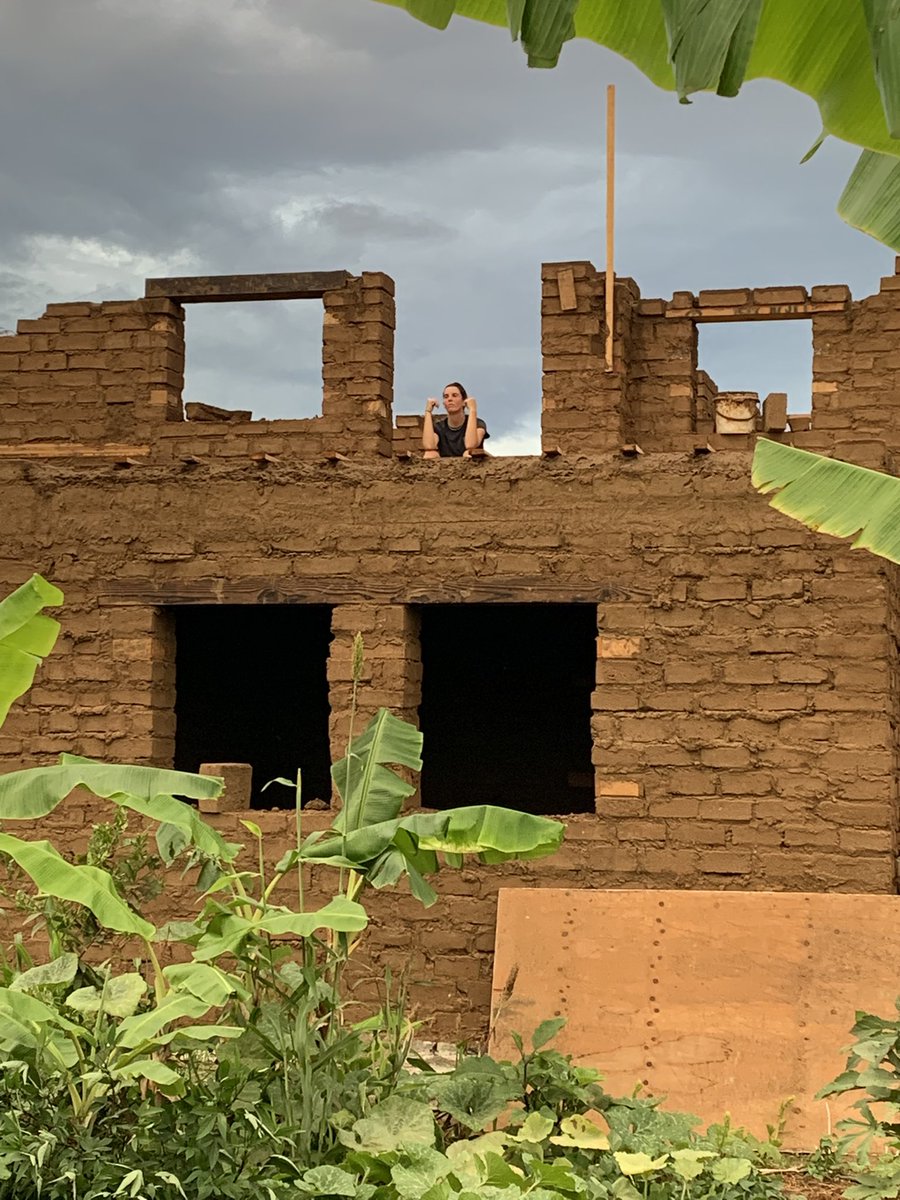
First shot at threads. This is how I build my earthen house. Clay, lime, stone, sand. No cement, no plastic. 1/?

This is the oldest pic I have on my phone. The sub-foundation is a rubble trench. One meter deep one meter wide. Filled with gravel and compacted. Foundation, starting at ground level bc no frost here is stone with lime mortar. 2/?

The floor within the house was built by adding about 20 cm of gravel which was then compacted. 3/?

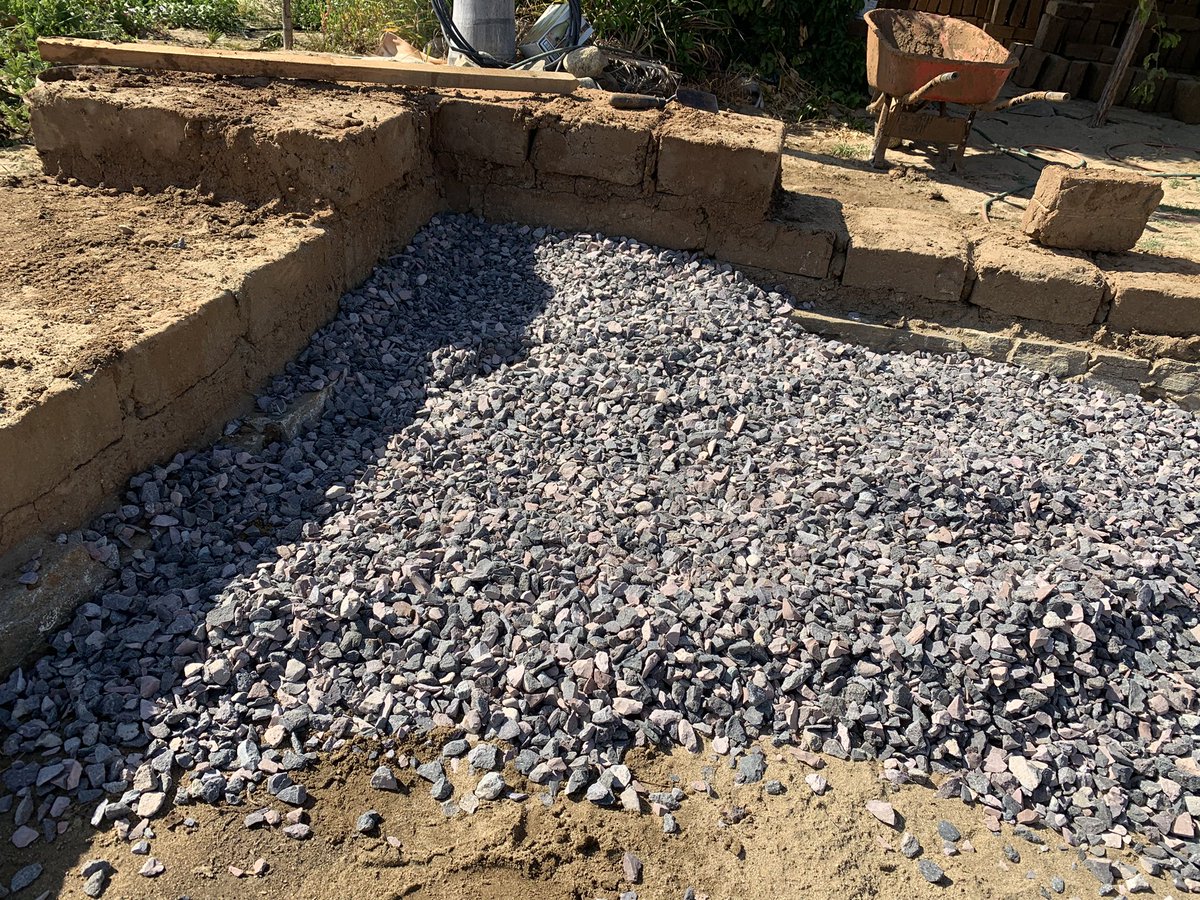
Clay soil was applied on top of the gravel to be compacted and form the subfloor 4/?


Here you can see the floor has been roughed out and compacted. Back to building the walls 5/?


Throughout the process we kept our brick production at maximum output. I lost count but I estimate this house took about 7000 bricks. 6/?


The ideal is always to stage one’s bricks within the room they will be building. 7/?


As the walls go up we started adding details. Here is the start of the outdoor stairway and the base where the toilet sits. 8/?
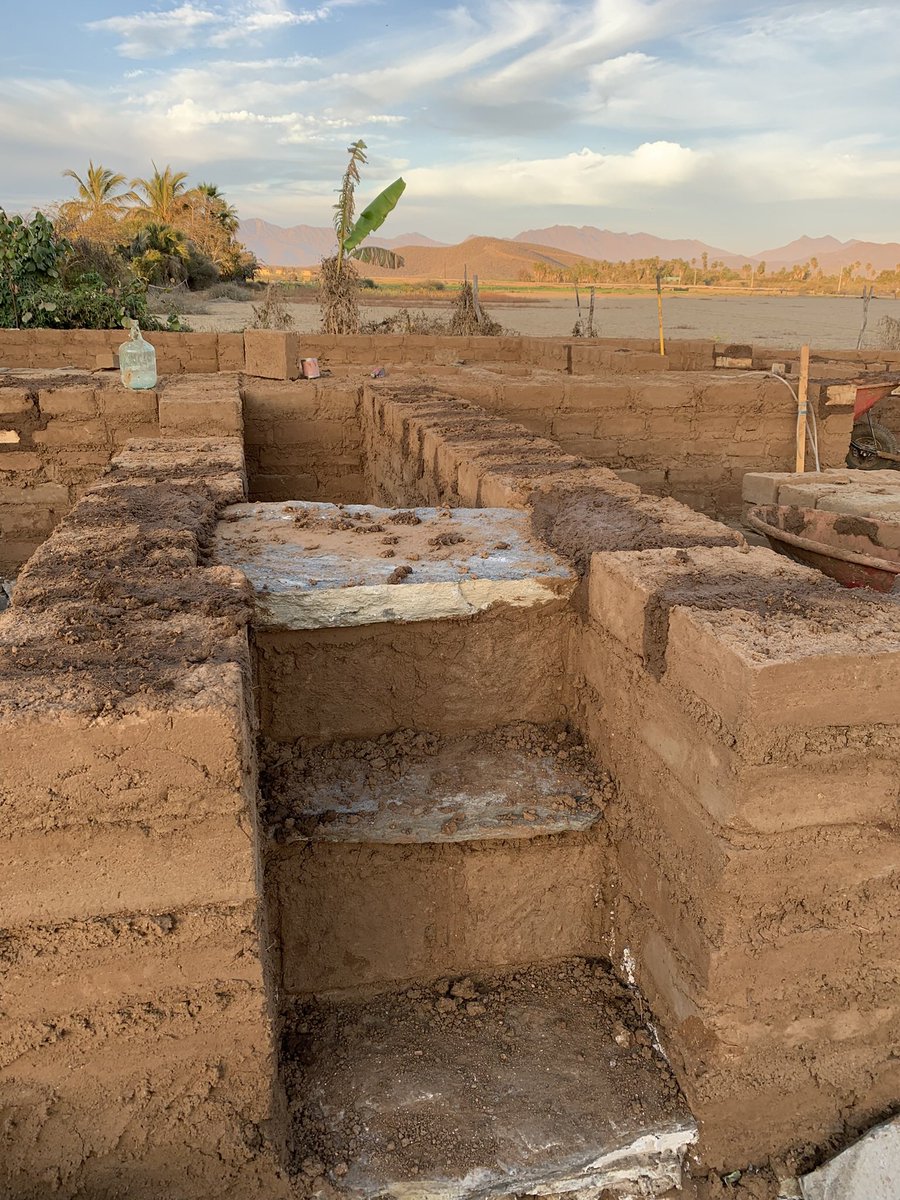


A niche for the virgen de guadelupe is crucial to keep the construction site safe 9/?

Anywhere where we want to be able to fix something to the wall in the future we add “gringo blocks”. Nails/screws dont fix very well to adobe so we make hollow brick shaped boxes out of 1x6s that are then filled with the same clay mix we use for everything 10/?

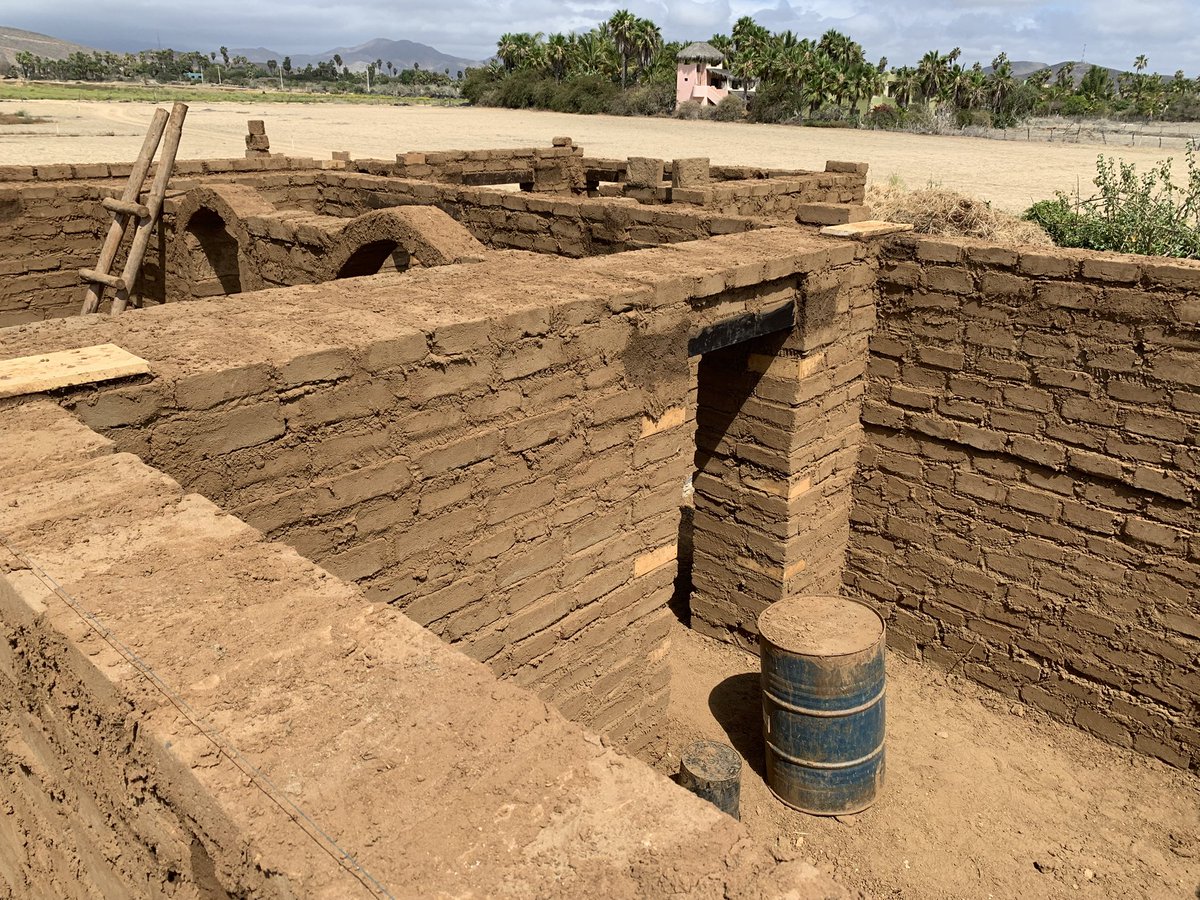
As we reach the top of the door and window openings we add lintels. The size depends on the thickness of the wall and the span of your opening. In this case it was two 6x8s next to each other. 11/?


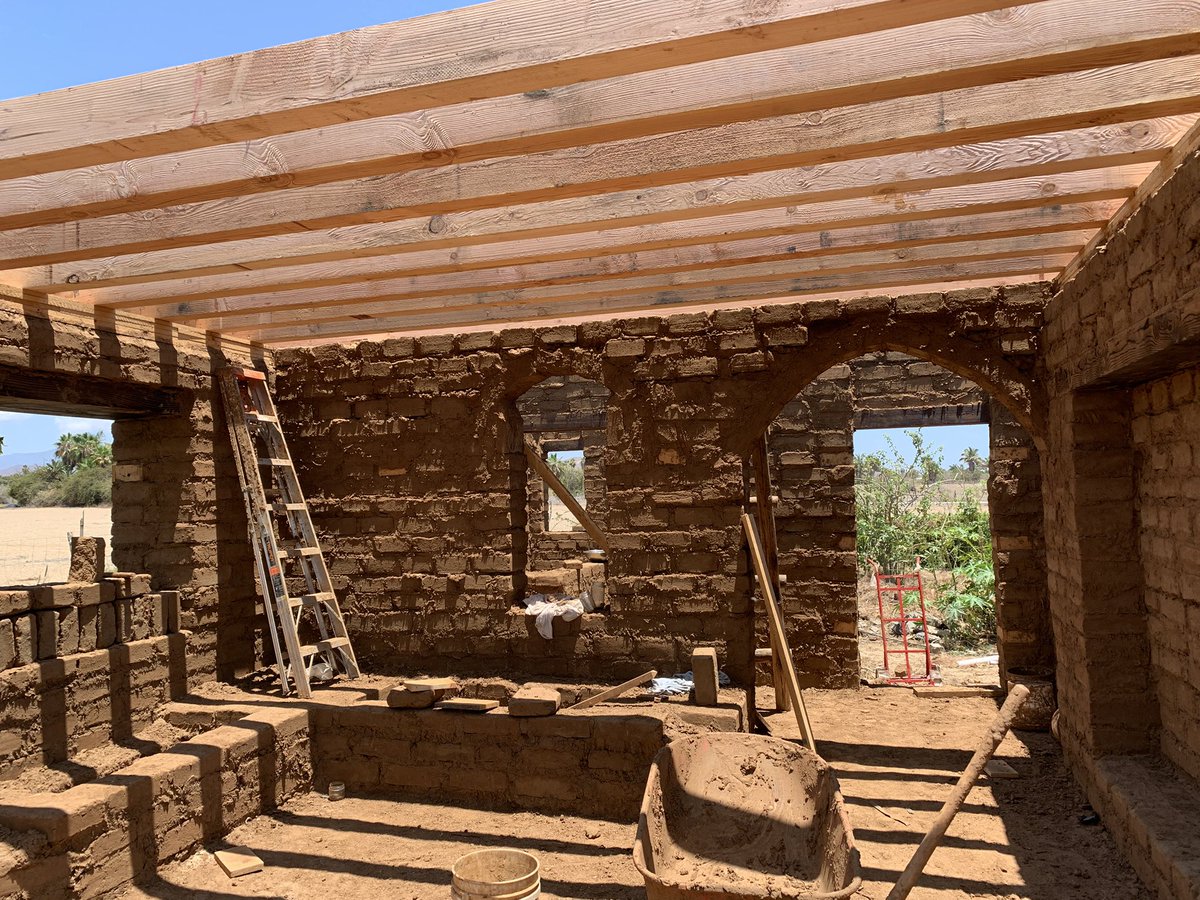
The other way to close an opening of course is an arch. Here are a few 12/?


Back to laying brick. Here are the first few courses above the doors and windows 13/?


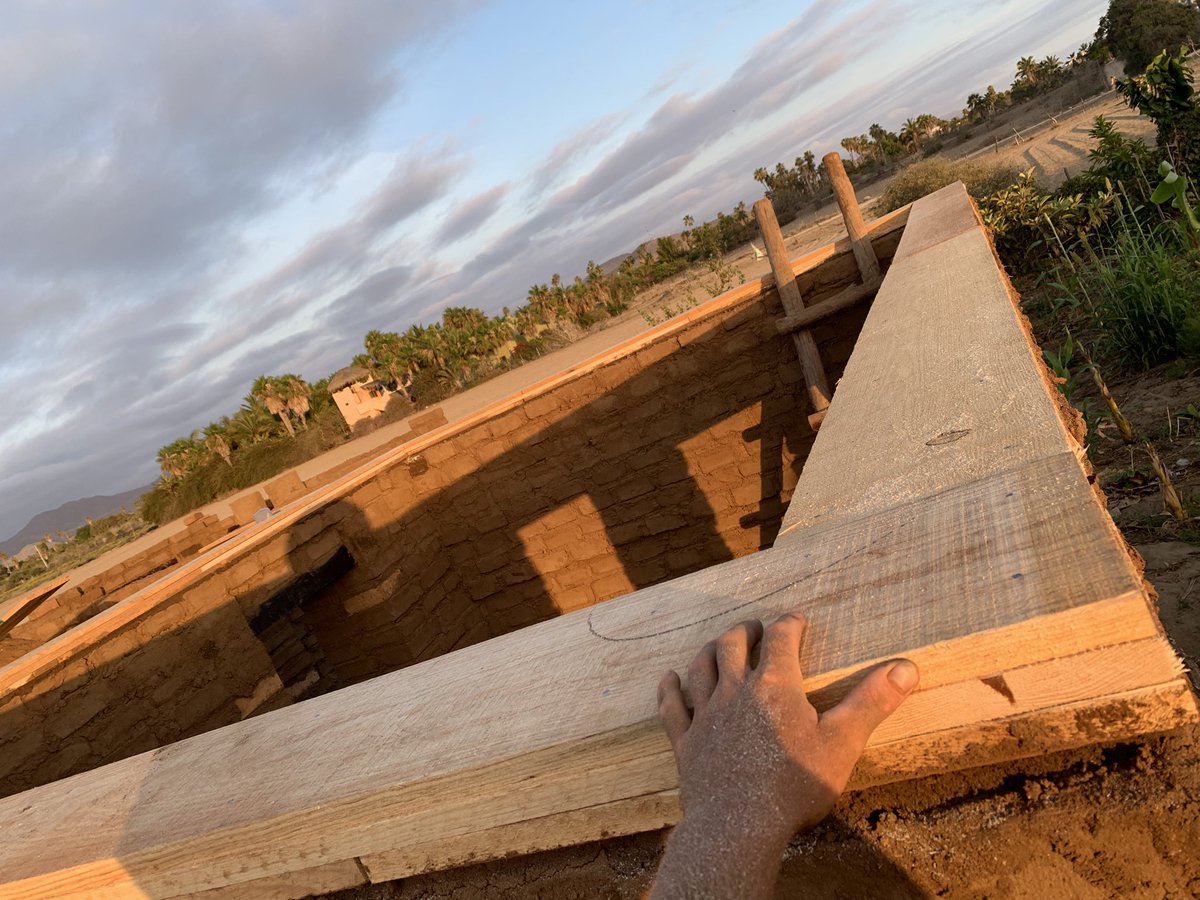
Next up is the bond beam. This can be solid wood, concrete and rebar, or, my favorite, stacked 1x material. I used 6 layers of 1x12. 13/?


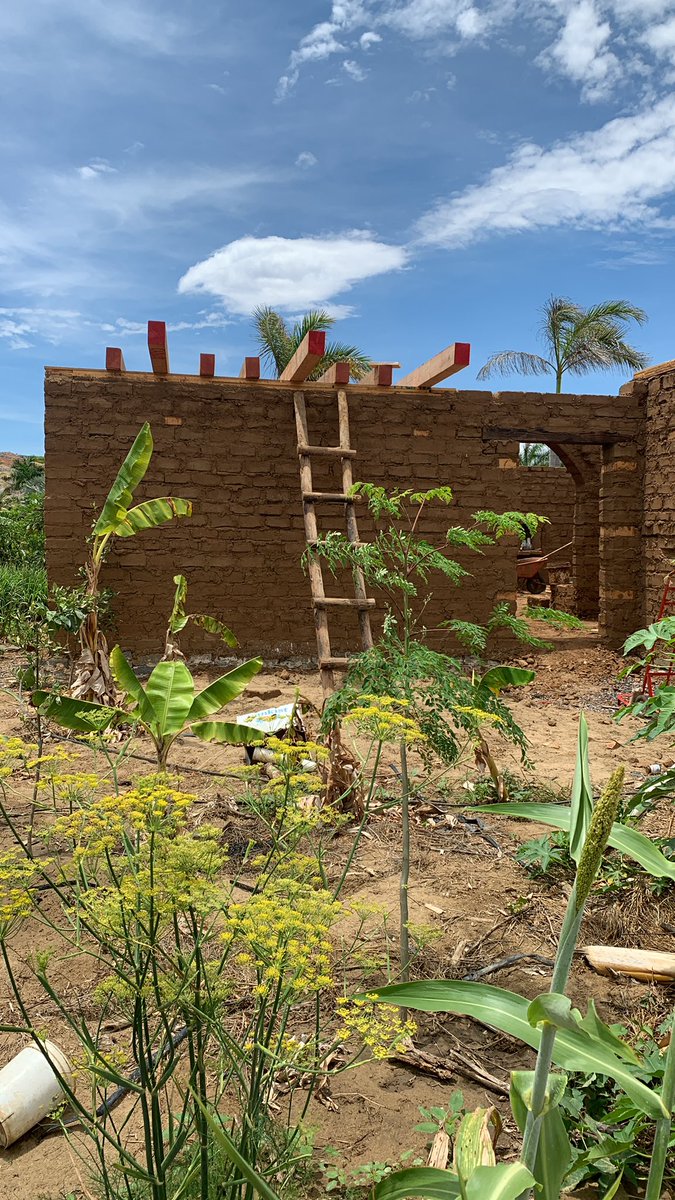
Next up laid beams for the second floor and the roof of the one-story room. These were all 6x8. I laid them right on the bond beam without nails or fasteners. They are held in place by the surrounding bricks and the immense weight of the wall above them 14/?
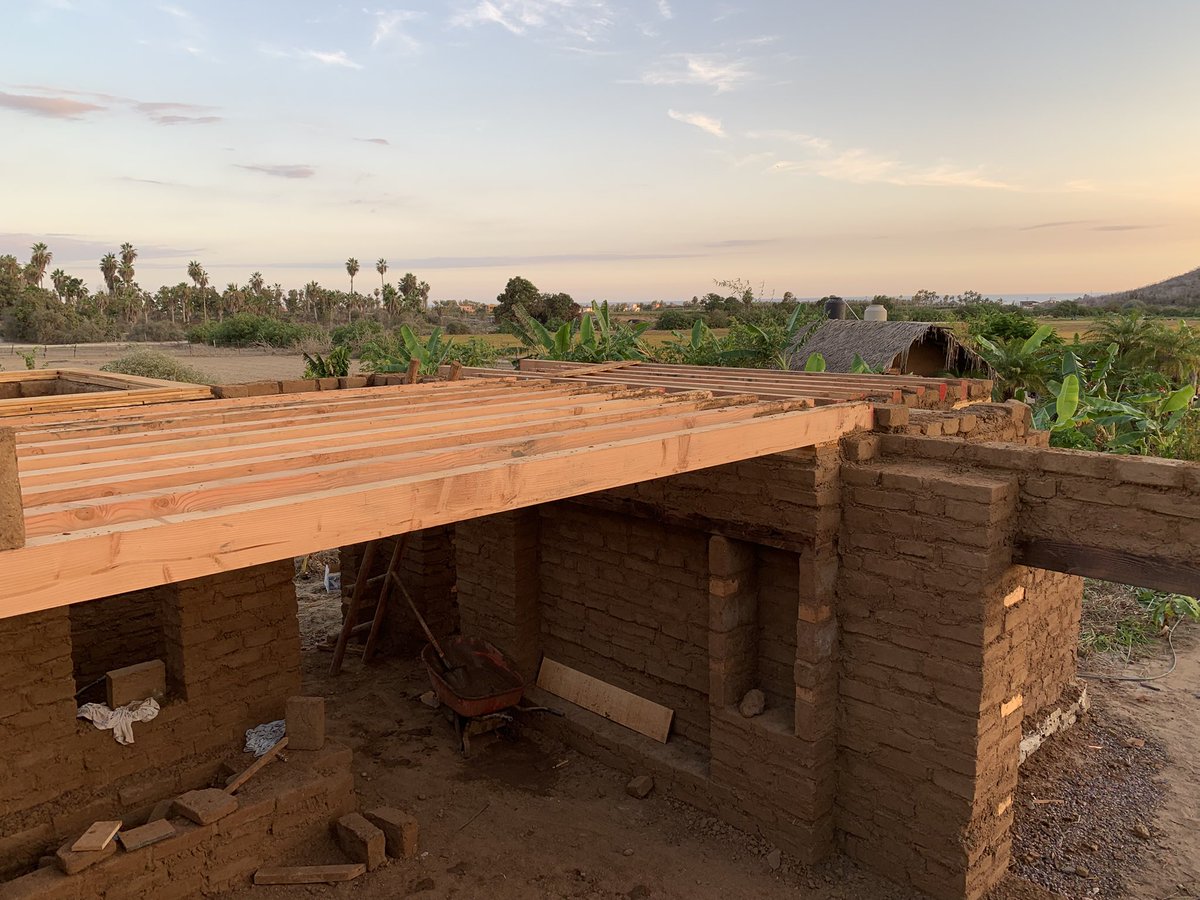

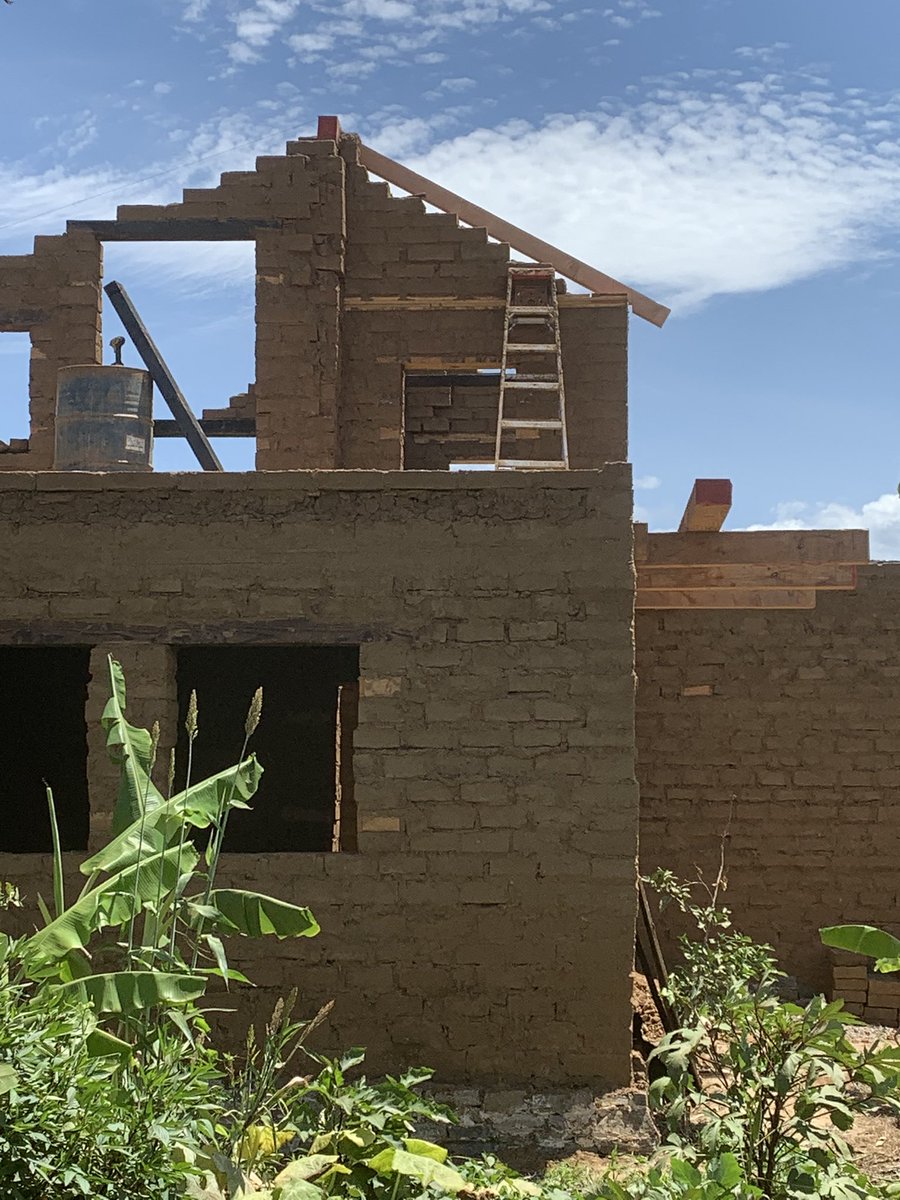
Back to putting up walls. I ran some lines the approximate outline of the roof and we used those to guide us 15/?


Once the walls were at their final height the ridge beam was placed across them 16/?

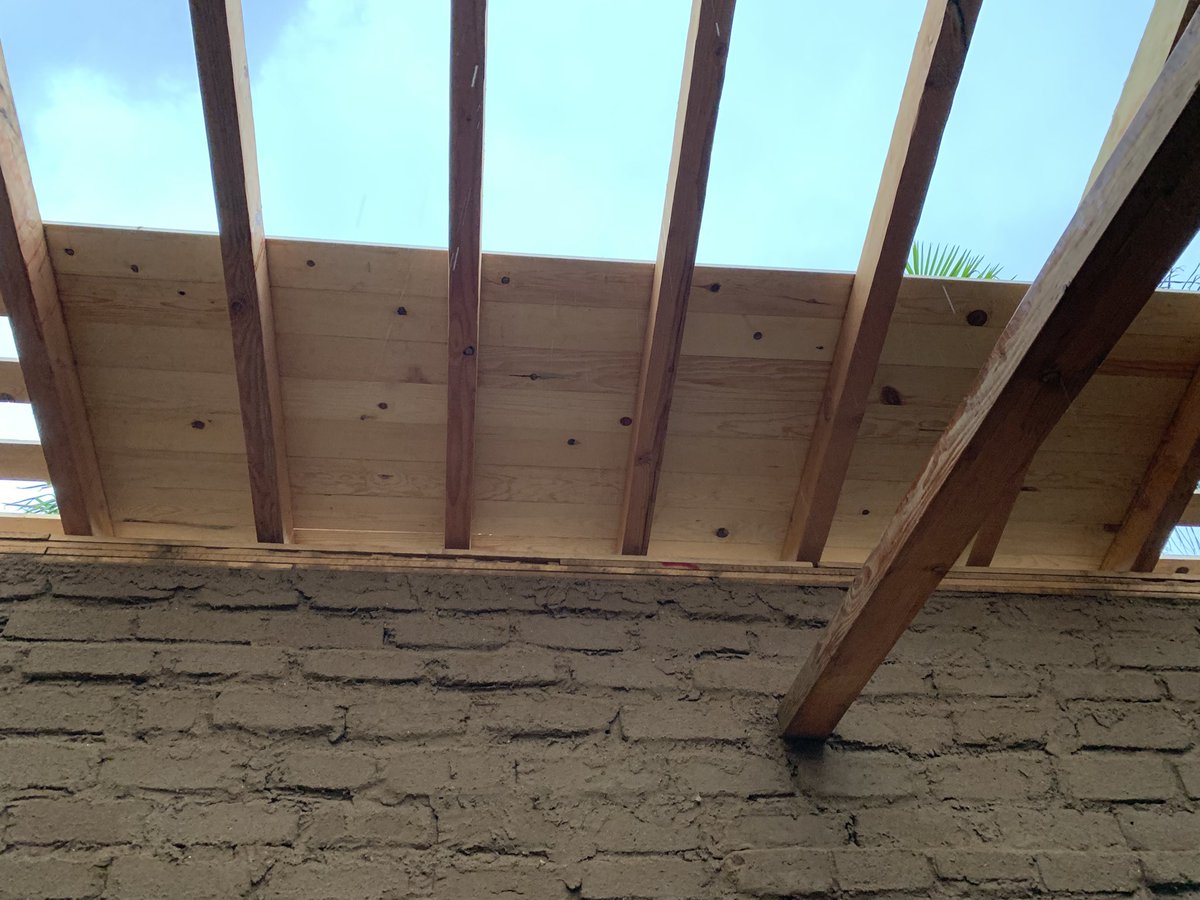
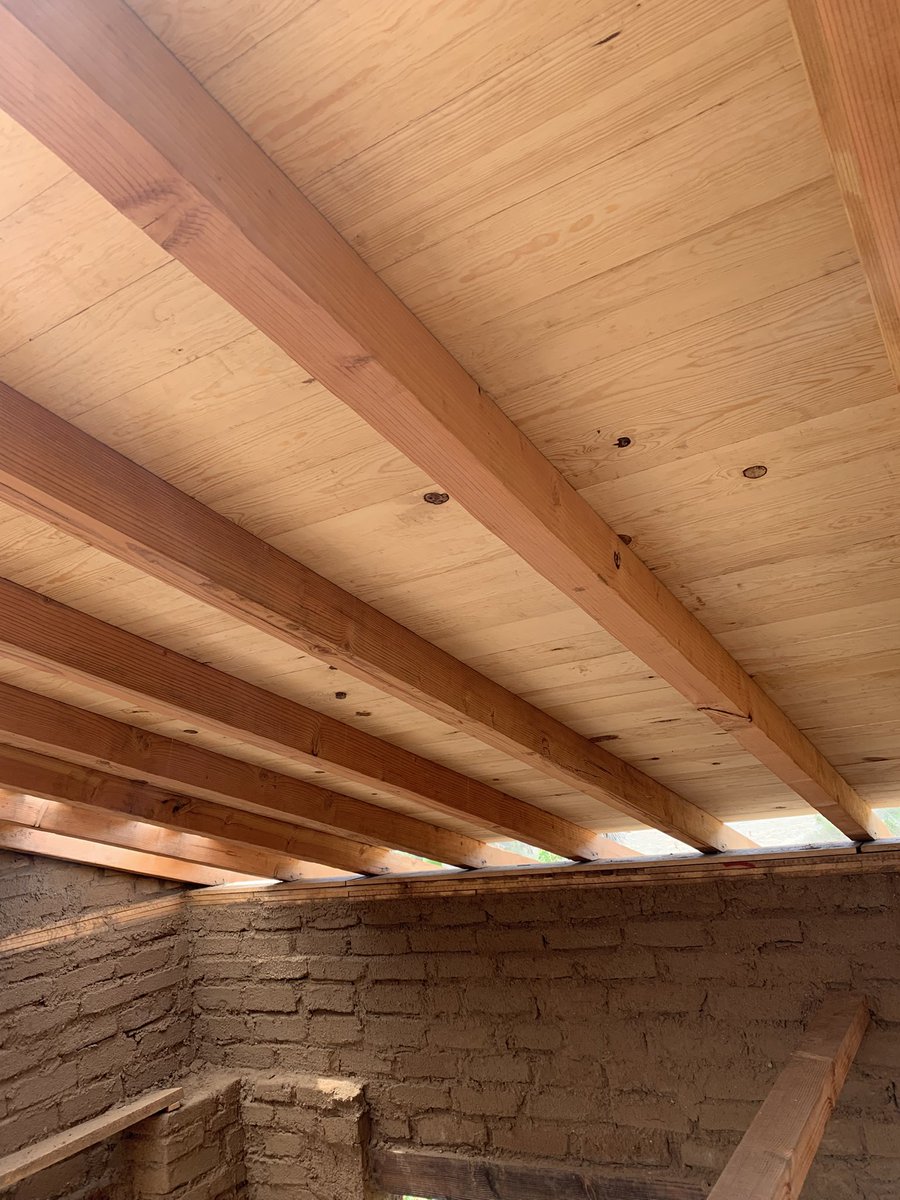
Next up we ran the rafters from the ridge beam to the bond beam at the top of the walls. These are 4x6s 17/?


Then came decking for the roof. I used 1x6 planks for this i planed the inside face and jointed the edges but I didn’t do tongue and groove 1/17


Next up we did the exterior brown coat. This is a clay plaster that we made with the same soil as the adobes (but sifted) 19/?


